Google webmaster tools
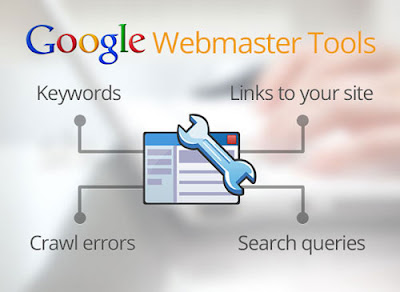
Google webmaster tools (GWT) is a set of tools for the webmasters. It is also known as Google Search Console.The main advantage of this toolset is that, it allows website communication with google. It is a free service to webmasters and here, the google gave a proper guidance to webmasters about google indexing. GWT also helps you to find out any issues or errors within your website and it also recognize the spam issue. While, login to the webmaster tool you can acess many sections like crawl errors, link to your site, keywords, search queries.
Search Queries
In google webmaster tools, Search Queries is the first section. Here, you can check which keywords can be used to attract the visitors to your website. In search queries section CTR has a main role. A higher CTR means the keyword is relevant so, we have to give more importance to keyword.
Links
The second section in google webmaster is links. This site shows where your backlinks come from and to which page they are linking to. Links from poor sites can ruin the ranking.
Crawl Errors
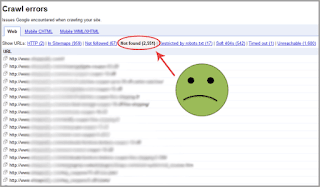
In this section, the google bots estimate the errors in your site.The effect of crawl errors will be missing of pages, inaccessible page.
Keywords

Generally, keyword is a phrase or a word that specifies the topic. Keywords are very important for every websites because, some keywords get hundreds or thousands of unique searches everyday. And these tool-sets are very useful to know how many users are searching for your keyword and how much competition for the particular keyword.
Steps for Adding and Verifying your
site ownership with GWT
Google Webmaster Tools or Search Console is a free service that always let you know more information about your website and how many people visit your website. Generally, Google verify the ownership by adding and verifying our blog in Google webmaster tools.
Verification process can be done through the following steps
- First, Create a blog in your Blogger.com account.
- Then login in to your search console by the link google.com/webmasters/tools/ .
- Next we have to copy the URL of your blog with .com extension. If the URL is with .in extension then, change it with .com/ncr and press enter and you get .com extension.
- Then go back to the webmaster tool site and paste the URL of your blog ( .com extension) in the box provided and click '' Add Property ''. Now, your blog site is added to search console account.
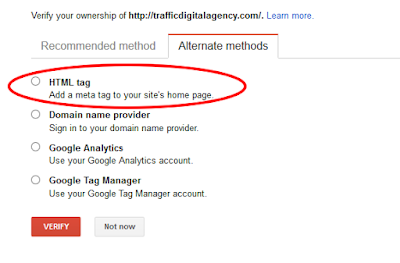
- Next step is to verify your blog. For a blog, the verification method is select the " HTML TAG" and copy the meta tag data given in the box.
- Then, go to blogger dash board click on theme option and and edit HTML.
- Paste the copied meta tag data within the < Head Section > ( before < /head> ).
- Go back to search console and click verify button and we get verification message from google.
How to crawl and Fetch in GWT ?
- After, verification message then the page will redirect to the dash board section.
- On the left side you can see Crawl option. Then you can see " Fetch as google " from the list.
- If you need to Fetch the entire blog then, leave the text box blank or if you don't need to fetch then, enter the URL of the page you needed to be indexed.
- Click Fetch button.
- After indexing, click on Request Indexing button.
- While clicking on request indexing button, you can see two options ; " Crawl only this URL " and " Crawl this URL and direct links ".
- Select as per need and click the button Go.
- Waiting for indexing to be completed and you successfully done the process.
If you want to know more about SEO and Optimization, you can read my blog based on
SEO Evolution and Techniques,
Basics of On-Page optimization and its techniques.
SEO Evolution and Techniques,
Basics of On-Page optimization and its techniques.


Thanks for this tutorial!
ReplyDeleteseo optimisation